Take Sidecar for a spin
This can also be viewed in video format here.
Open the Eratos Sidecar installer
Once you have logged in to the Eratos platform, you can access the Eratos Sidecar directly from the Home page.
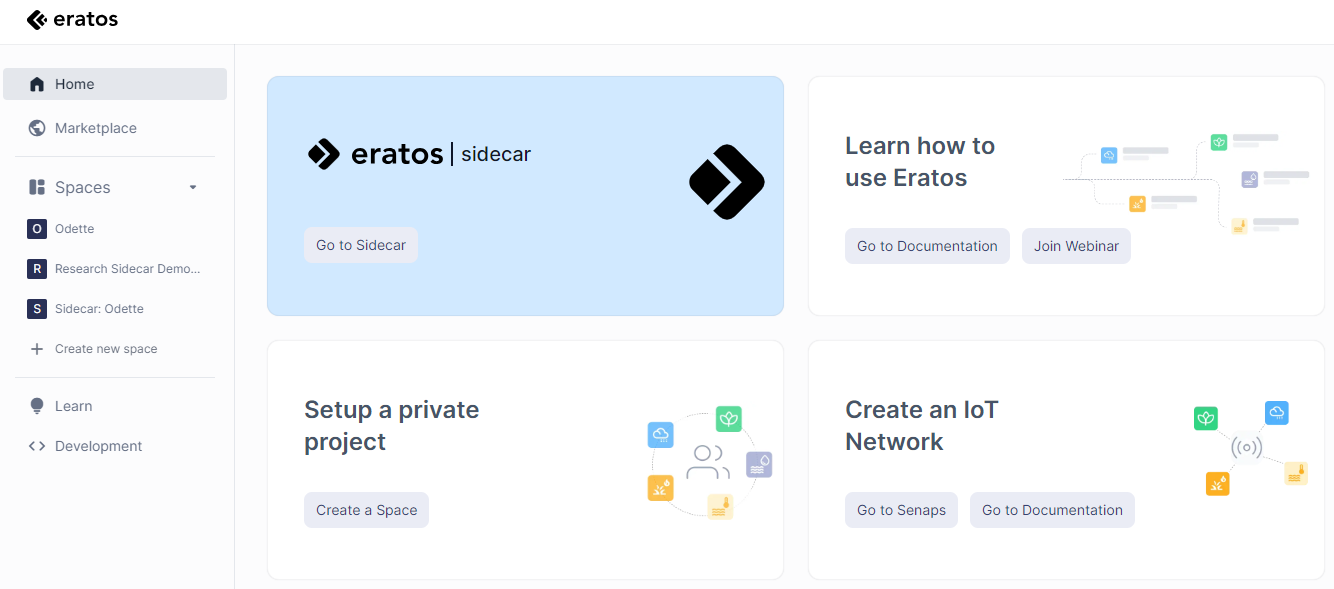
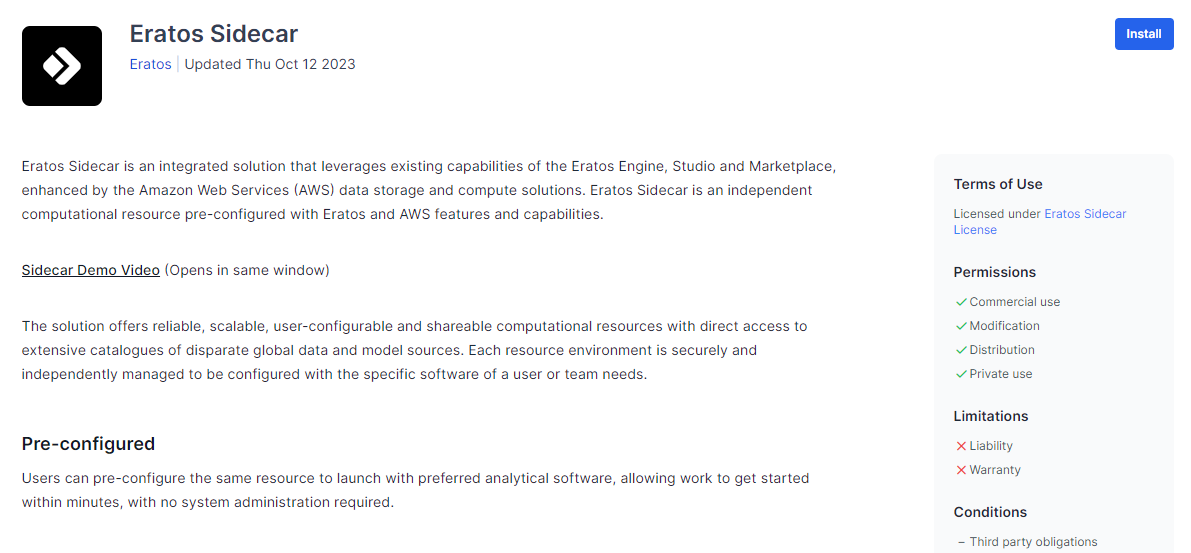
Alternatively, search for 'sidecar' within the Marketplace.
Click on "Install" to create your own Sidecar instance.
Choose your Eratos Sidecar plan
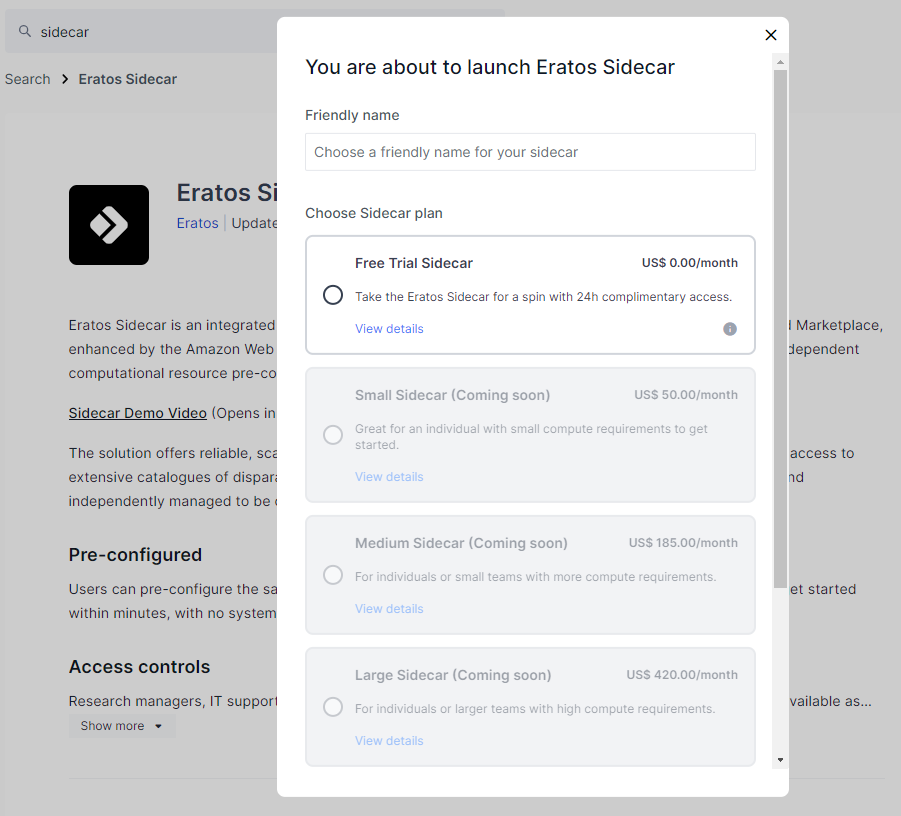
Once you have clicked on "Install" you will be asked to give your Sidecar a name and choose the right Sidecar plan for your requirements.
Select which Sidecar size suits your needs best. Contact our team if you're not sure or want more information.
Launch your Eratos Sidecar
Once you have given your Sidecar a name, have chosen your subscription, click on "Launch".
You will be presented with a message confirming your choice. Click on "Proceed"
This will launch the installer and create your Sidecar instance within a dedicated Space.
The Sidecar card status will show as "Starting" whilst the Sidecar environment is being set up for you. Once complete, the status will show as "Online".
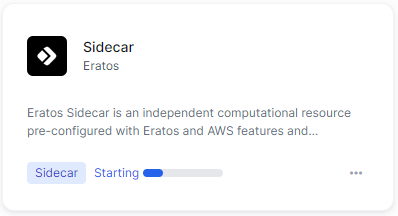
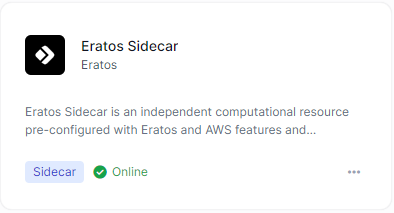
Your Sidecar environment is now ready. Click on the tile to bring up the Sidecar login details:
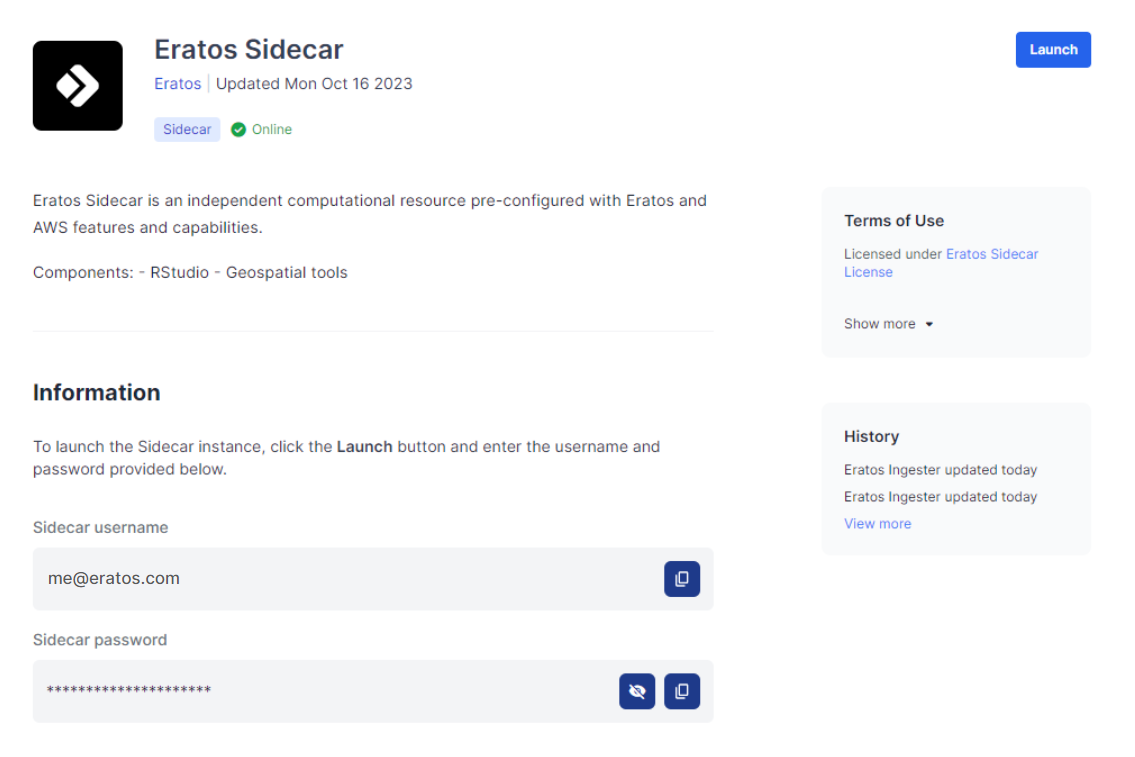
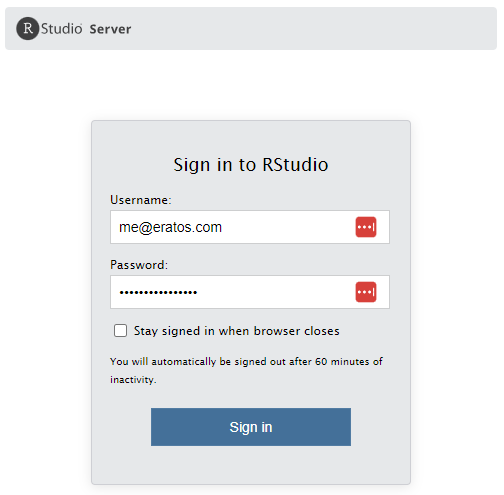
By clicking on the "Launch" button, this will present you with the RStudio login screen. Input the username and password above to access your Sidecar instance.
Security
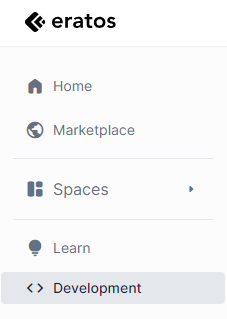
A unique set of API keys and secrets are generated per Sidecar. These are automatically passed into your Sidecar instance to authenticate you. You may view and manage your keys within the Development tab.
Upgrade your Eratos access if required
To access an ongoing instance of Sidecar with persistent storage, you need to upgrade to a paid subscription account. A free 24 hour Sidecar trial is available to all users.
For more information on Eratos Account Subscriptions: Eratos Subscription Access
For more information on Eratos Sidecar pricing: Sidecar pricing
Updated 6 months ago
